FAUX
SCRIMSHAW LESSON
Denise in Austin
| Print out the clip art you want to use in the scrimshaw. Make sure it is the correct size for the piece you are putting it on. | 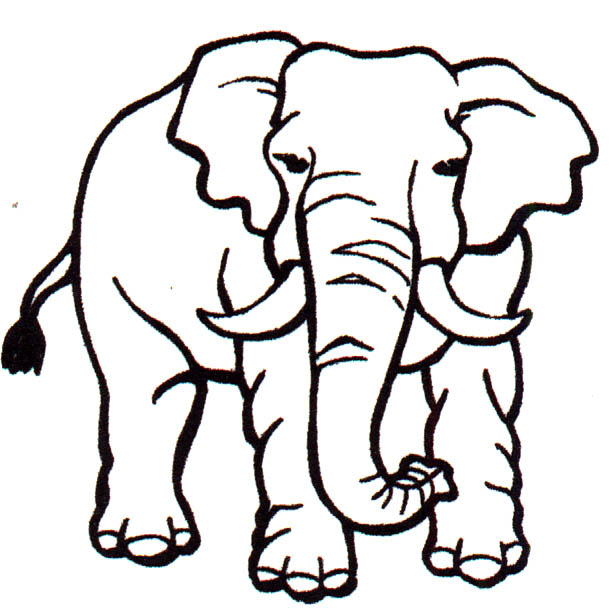 |
| Use a pencil to trace over the existing lines, making changes (like I did with the tail) and adding lines for shading and to make the drawing more detailed. |  |
| Put the drawing face down onto the raw clay and rub the back of the paper with your fingertip. Lift up a corner of the paper to check the transfer and if you need to rub some more, do so until you get the image completely transferred. | 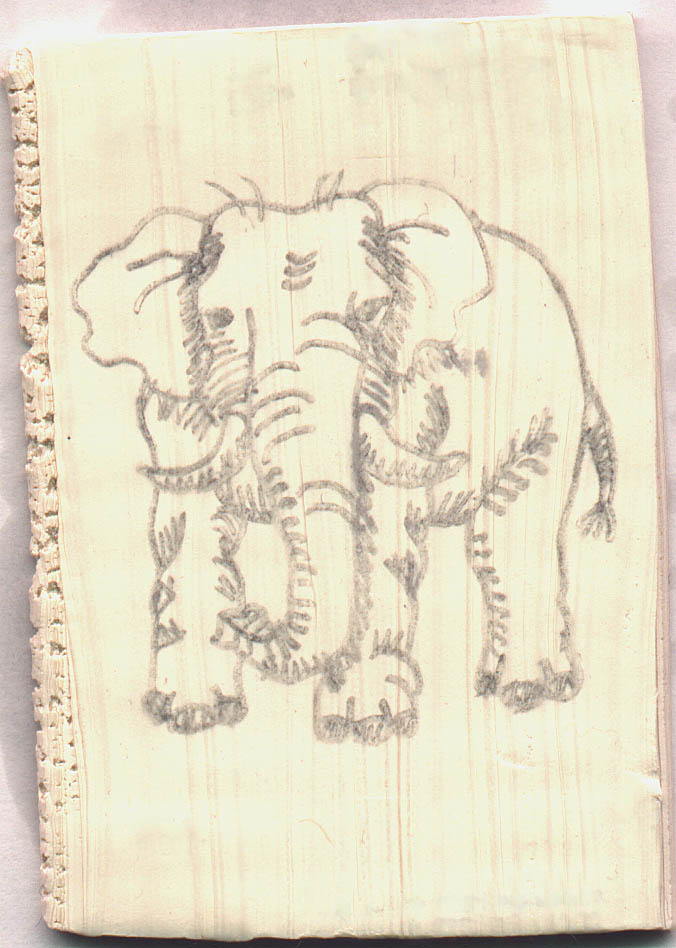 |
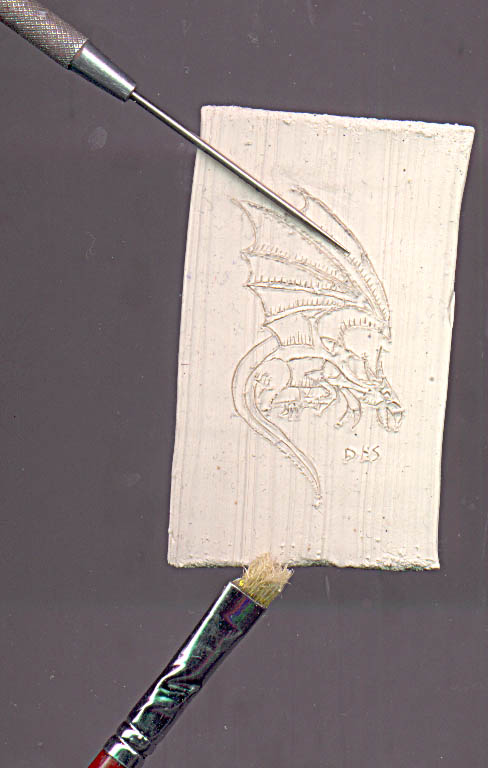
| Using a needle tool, slowly scratch to a depth of about 1/16th inch or about 2 millimeters into the clay following the pencil lines. Pay attention to the direction of the lines or from which end of a line would be the best to start from. I usually do the major outlining first and then do the hatch lines outward from them. This keeps you from filling in a line you previously made. Push the ends of the piece with a stiff bristled brush to give it bone-like texture. | |
| At this point try not to touch the area you've been working on. The clay that was displaced will be sanded off after it has been baked. If you wish to shape your clay, now is the time to do it. I gently bent my pieces around a cardboard tube that I had cut in half lengthwise. Bake according to your clay brands recommendation |
Click on picture for closer view |
|
After the piece has cooled enough to handle, sand the roughness and the residual pencil marks off of the face of your work. I use wet/dry sandpaper with grits 320 and work up to 1200. Dry the piece with paper towels, including the scratchings. Let the piece dry totally, overnight if need be. Put a blob of black acrylic paint onto the center of your picture and using your fingers, rub the paint into the scratchings. Quickly swipe the surface with a damp paper towel to remove the paint from the surface but not from the scratchings. Let the piece dry. Sand the surface to remove any stains left by the paint. Be careful not to sand so much that you remove your scratchings. The next thing you do is to make your bone or ivory piece look more real, aged, and earthy. Put a blob of burnt umber acrylic paint on the surface and rub it around, both front and back and on the sides, and then wipe it off, leaving behind a slight color. |
|
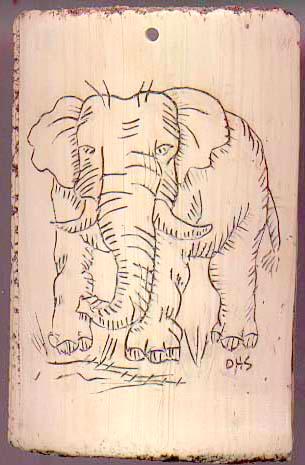 |
To finish you can buff the piece to bring out a nice shine or add a light coat of Future Premium Floor Finish. Last, drill a hole to add a silver loop so it can be hung as a pendant. |
|
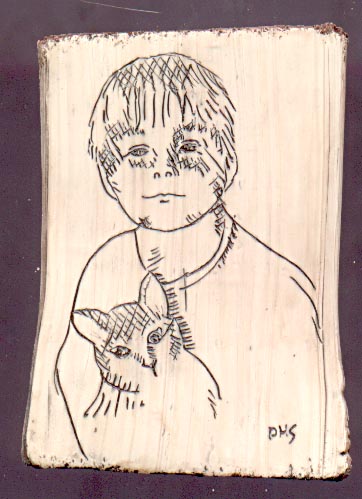
I have successfully used this same technique to do a portrait. Instead of using clip art I used a picture that I manipulated with a graphics program. But that is another lesson altogether. Denise |
 |